
This article describes how to install the UC Desktop app using PWA (Progressive Web App).
If you wish to manage a Progressive Web App that has already been installed, please visit our article on Managing Progressive Web Apps (Chrome and Edge).
Begin by opening your Chrome Browser or Edge Browser and logging in at connectuc.io with your PBX credentials (typically, the username is 'extension@domain' format).
Once logged in,
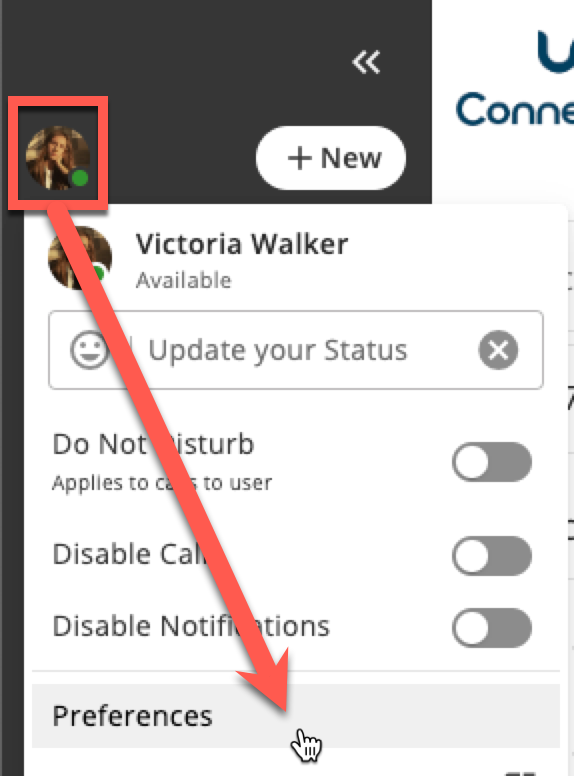
If this option is not available, please instead select your profile icon and then select 'Preferences.'
This article describes how to install the UC Desktop app using PWA (Progressive Web App).
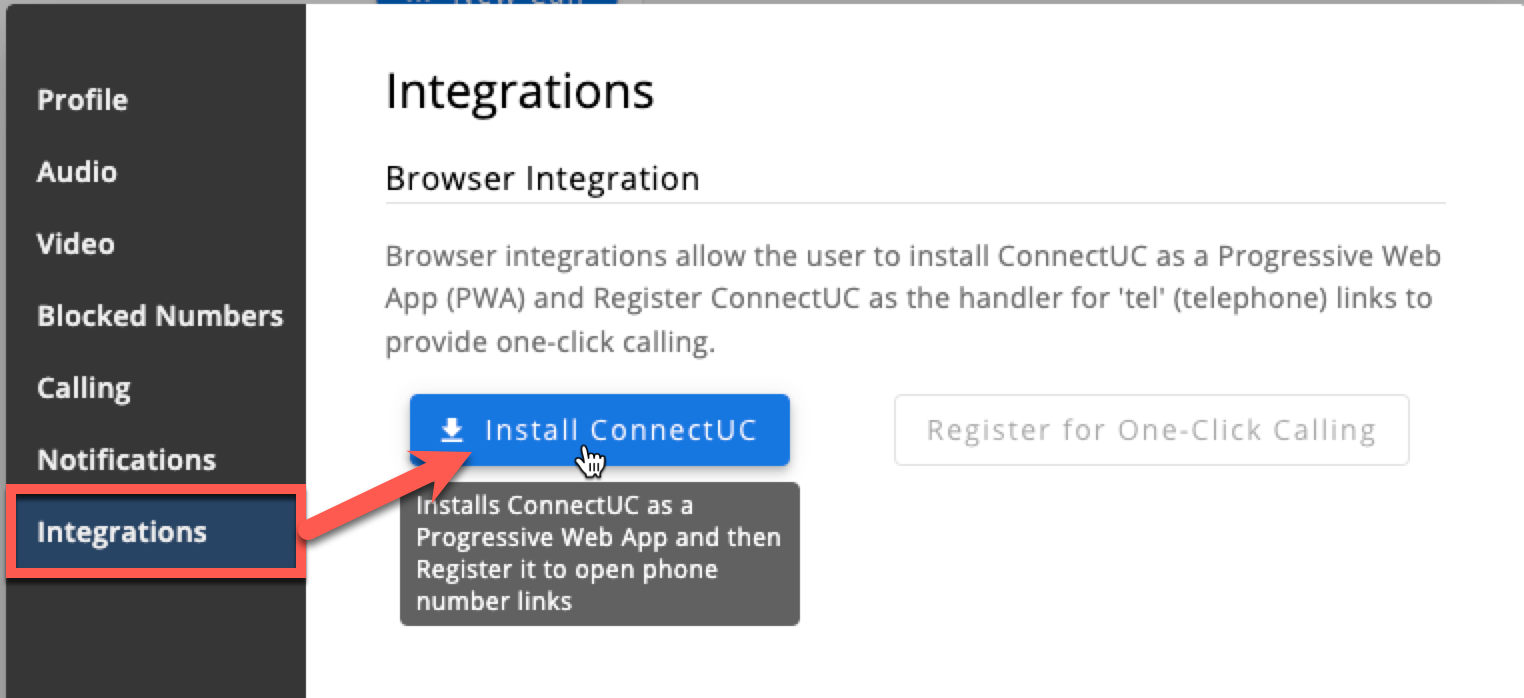
Once selected, navigate to the 'Integrations' tab and click the 'Install ConnectUC' button to initiate the installation process.
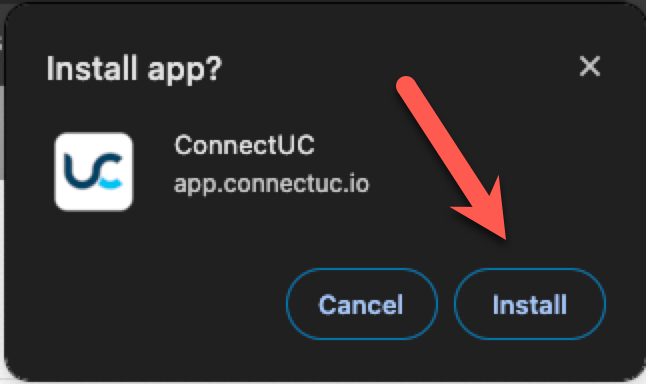
To finalize the installation, please remember to click 'Install' when prompted.
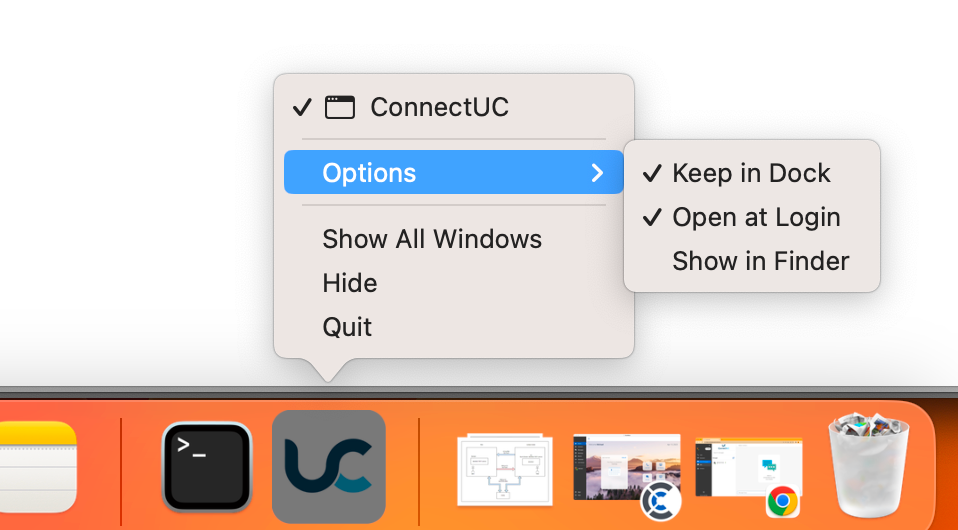
Once the UC Client is installed, you will now have a new Tray icon like any other desktop app (Mac pictured).
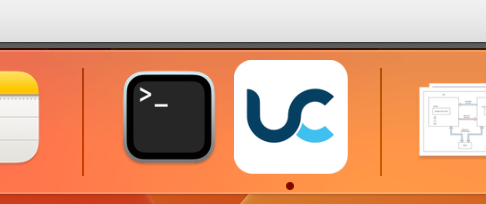
To set ConnectUC to Run on Startup:
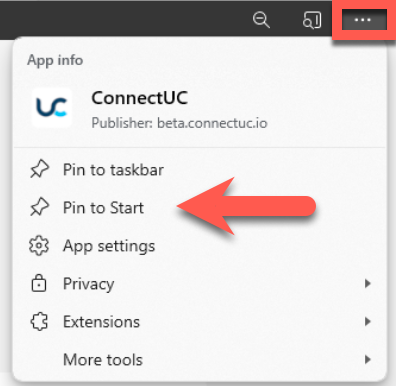
For Windows: Click the "..." button menu when the app is open and select “Pin to Start.”
For Mac: Right-click on the PWA icon in the dock and select “Open at Login.” We also recommend Mac users select "Keep in Dock" for convenience.