

The ConnectUC Calls tab allows you to view recent call details and initiate calls from three locations (The ‘+New’ button on the upper left-side menu, the ‘New Call’ button at the top of the page, and the always-present Dial Pad button on the lower left-side menu).
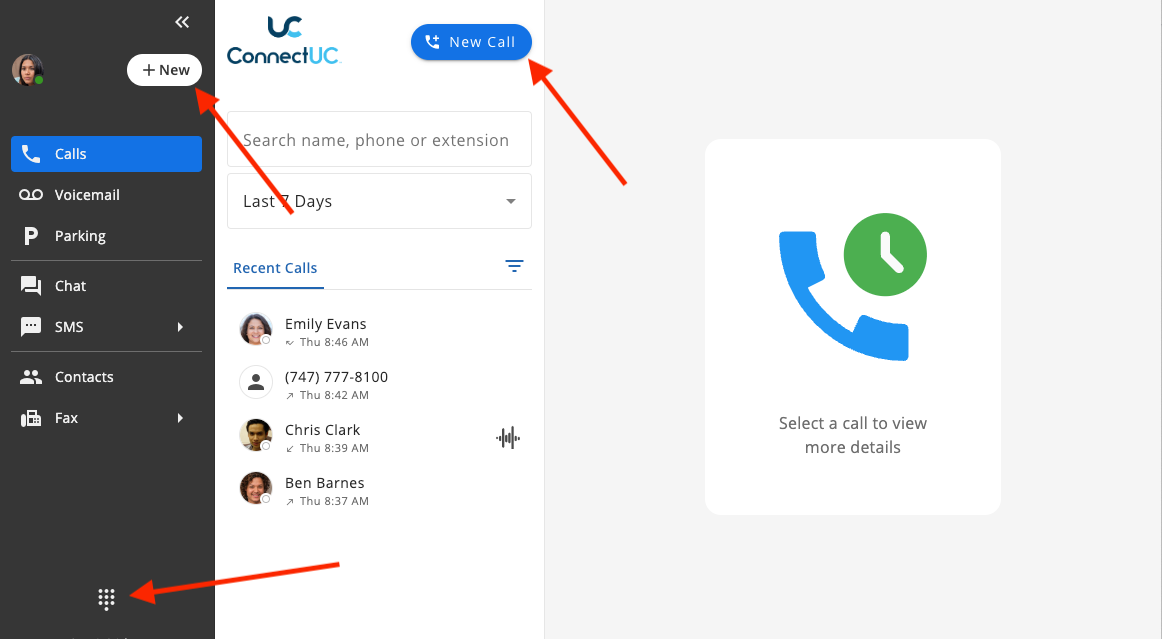
The 'Calls’ tab also allows the ability to view a contact’s information and quick action icons by clicking their name within the ‘Recent Calls’ section.
When the Company Contact is highlighted in the example below, the ‘Call’ and ‘Chat’ quick action icons appear on the top right side of the page.

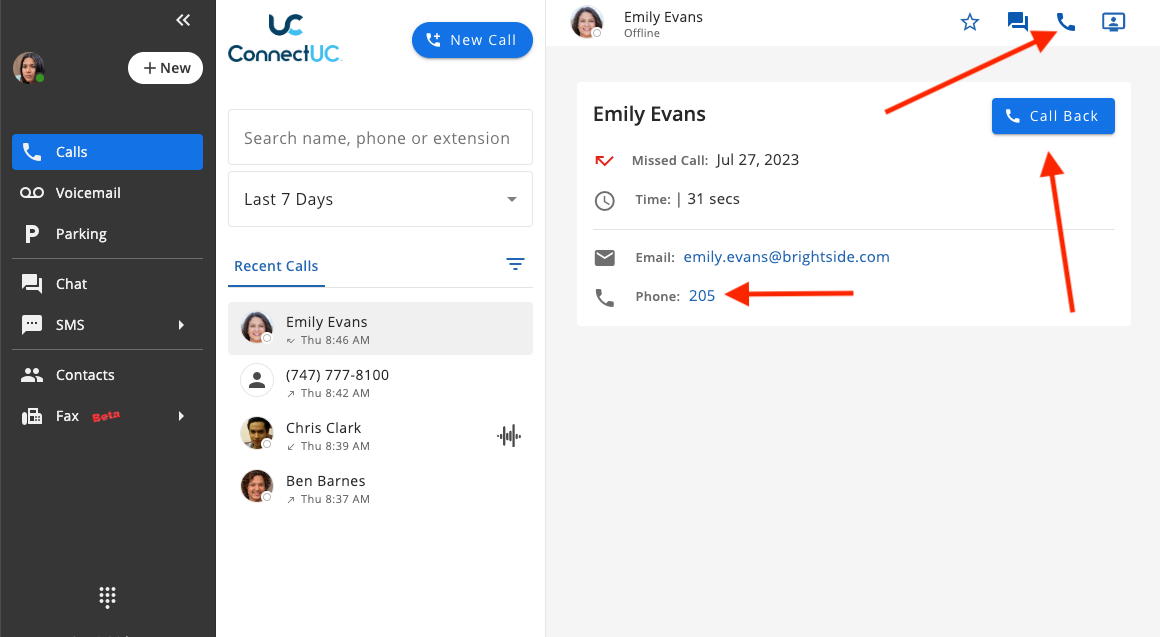
To begin a call with the contact you are viewing, you may click the Phone icon, the ‘Call Back’ button, or you may click the contact’s phone number, as seen in the image above.
Similar options can be seen on Voicemail details, Chat and SMS conversations, and Contacts.
Dialer
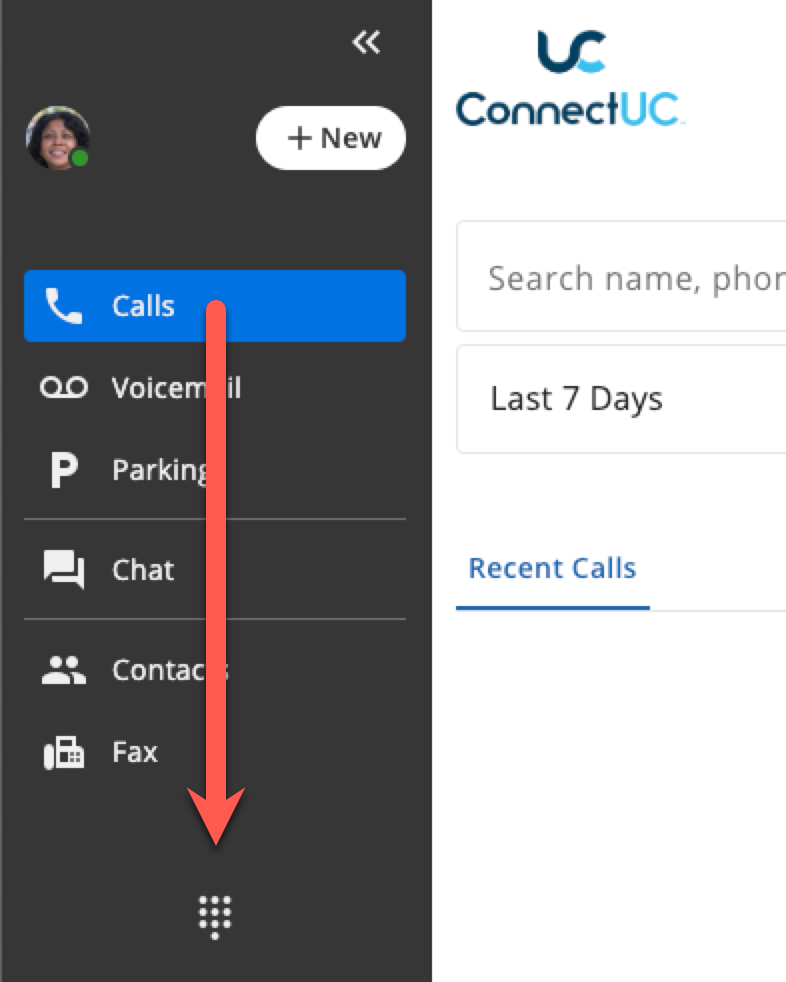
The dialing modal can be accessed from any page by selecting the ‘Dial Pad’ icon at the bottom of the left-side menu.
Once selected, the dialer allows users to enter an extension, or phone number, or to choose a contact to dial from a list.
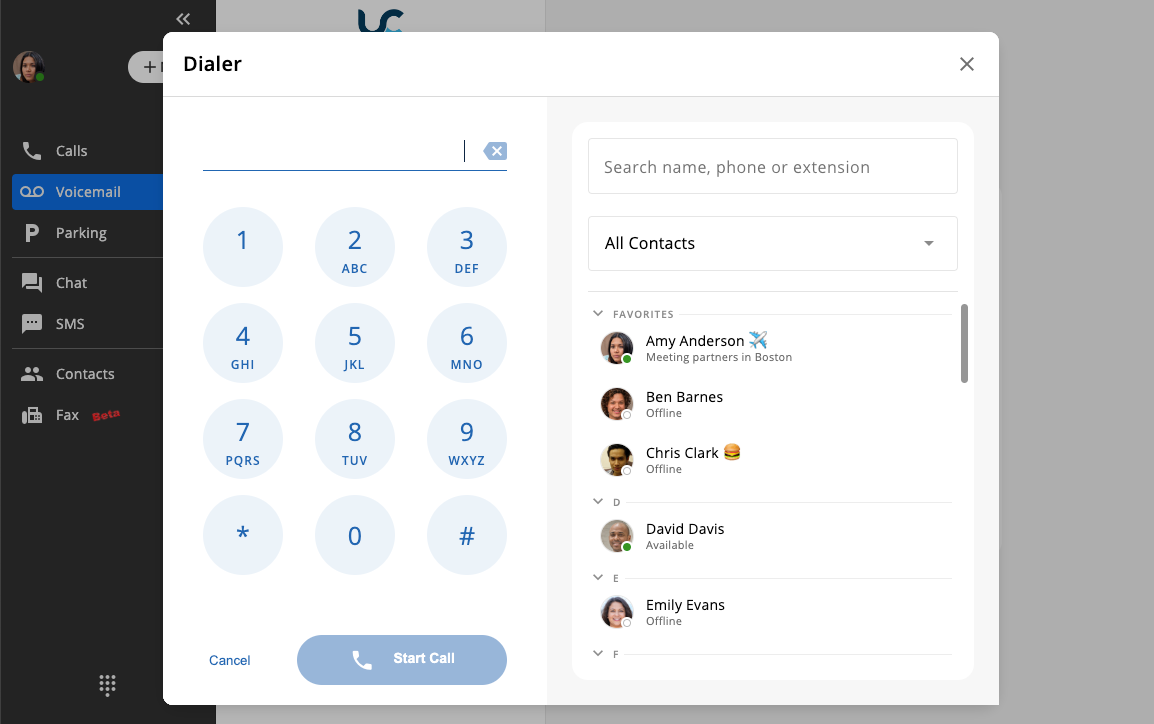
If a user enters digits or enters a name in the search bar, the contacts list will be matched. Once the user locates the contact they are looking for, they can easily call any of the numbers the user has in their contact information.
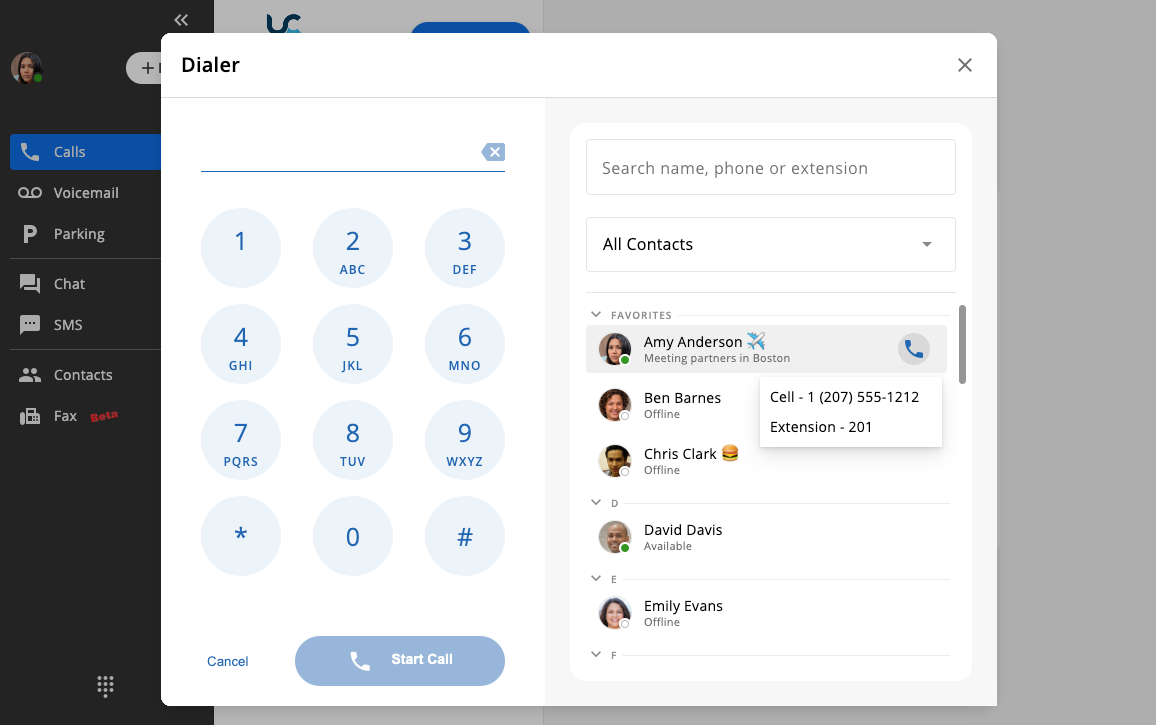
If the user has only one number listed, it will be dialed immediately.
Active Call Window
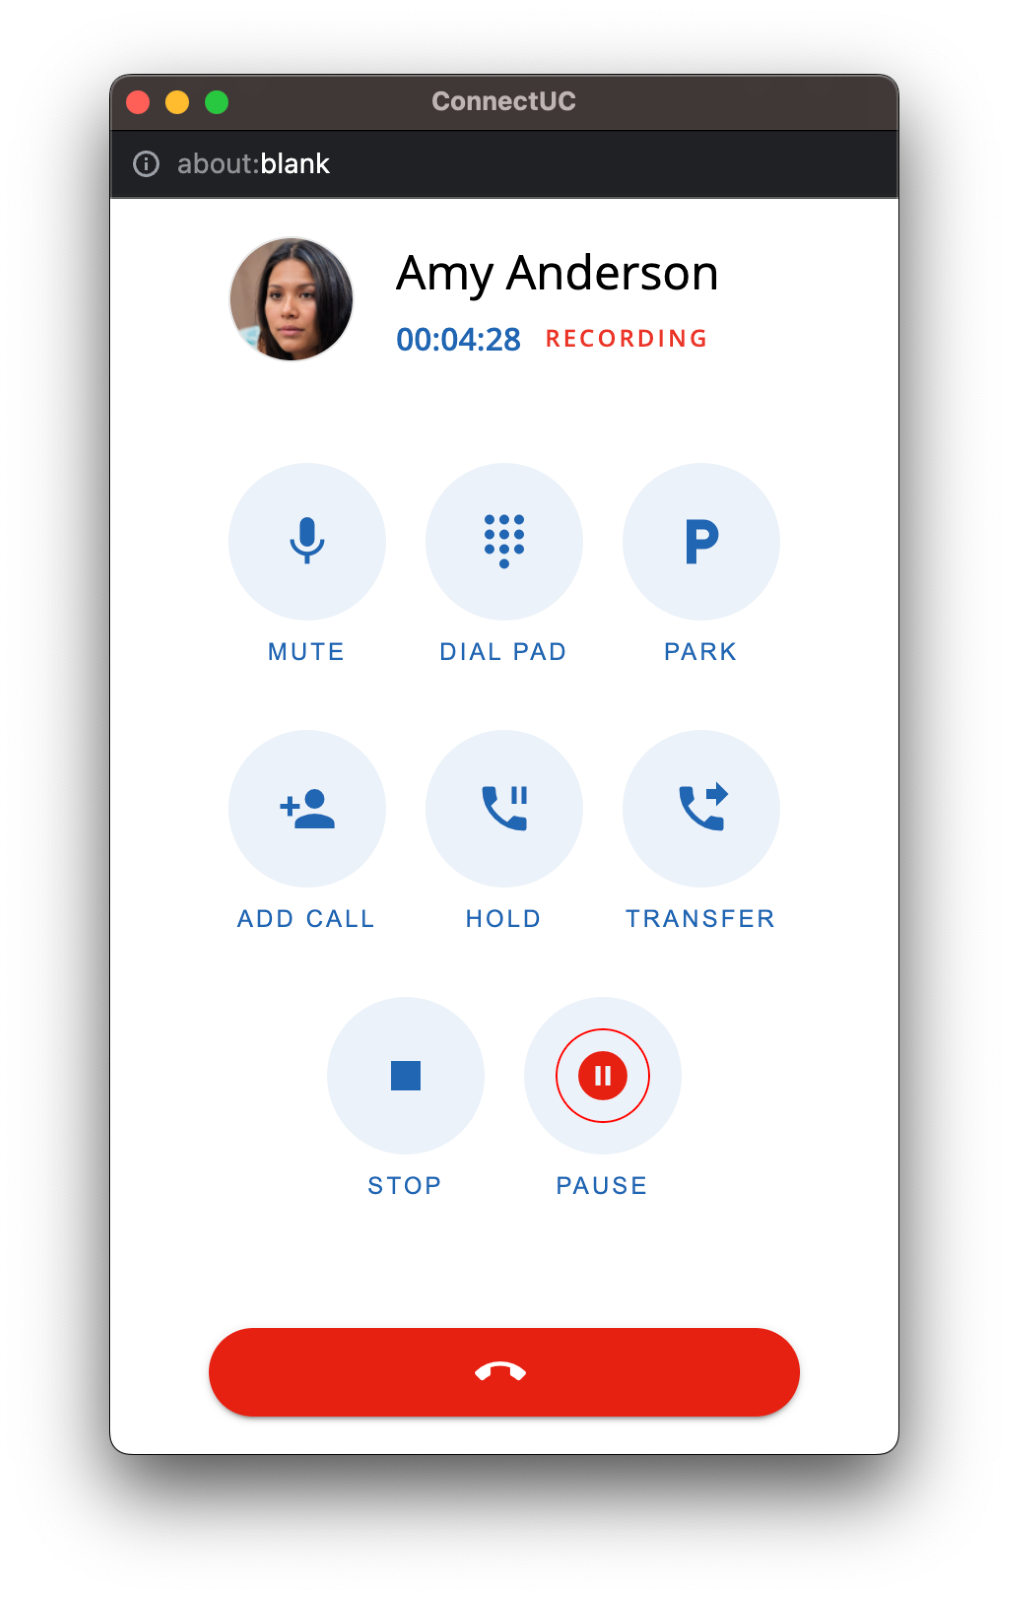
The active call window is designed to look and feel like a familiar cell phone application.
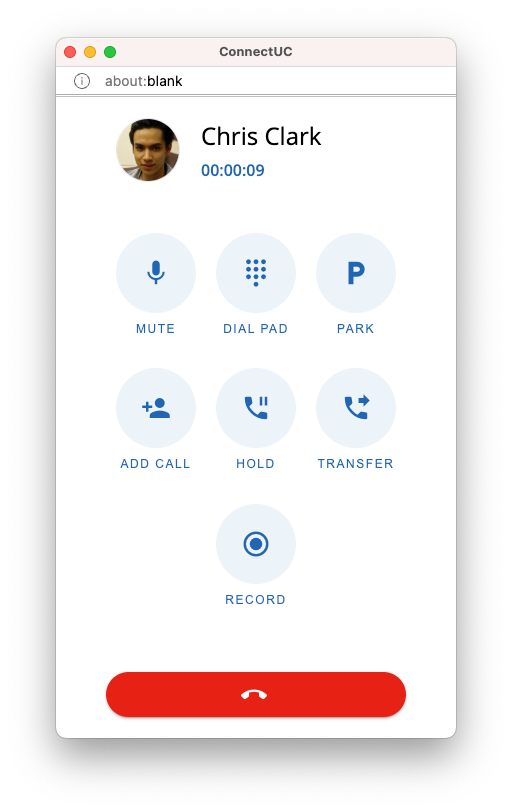
Mute
Selecting the ‘MUTE’ button will shut off the microphone while still allowing the user to hear the call.
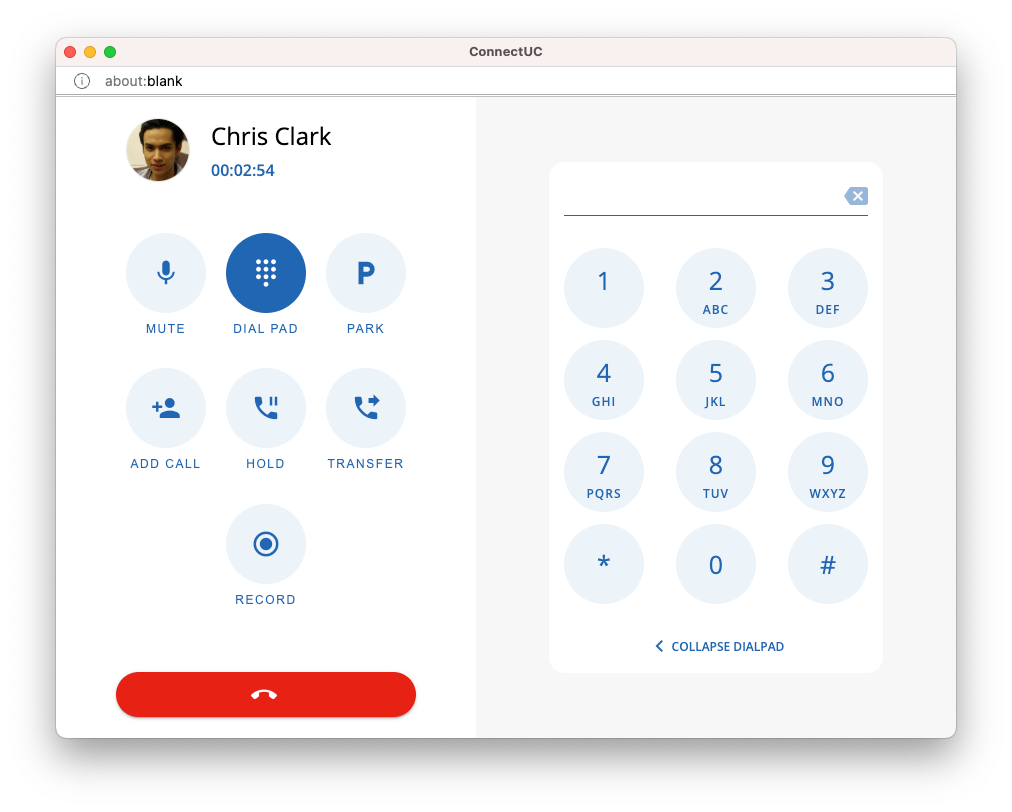
Dial Pad
Selecting the ‘DIAL PAD’ button will reveal a dial pad for entering DTMF digits into the call. Clicking on the dial pad button again or clicking on ‘Collapse Dial Pad’ will collapse the dial pad.
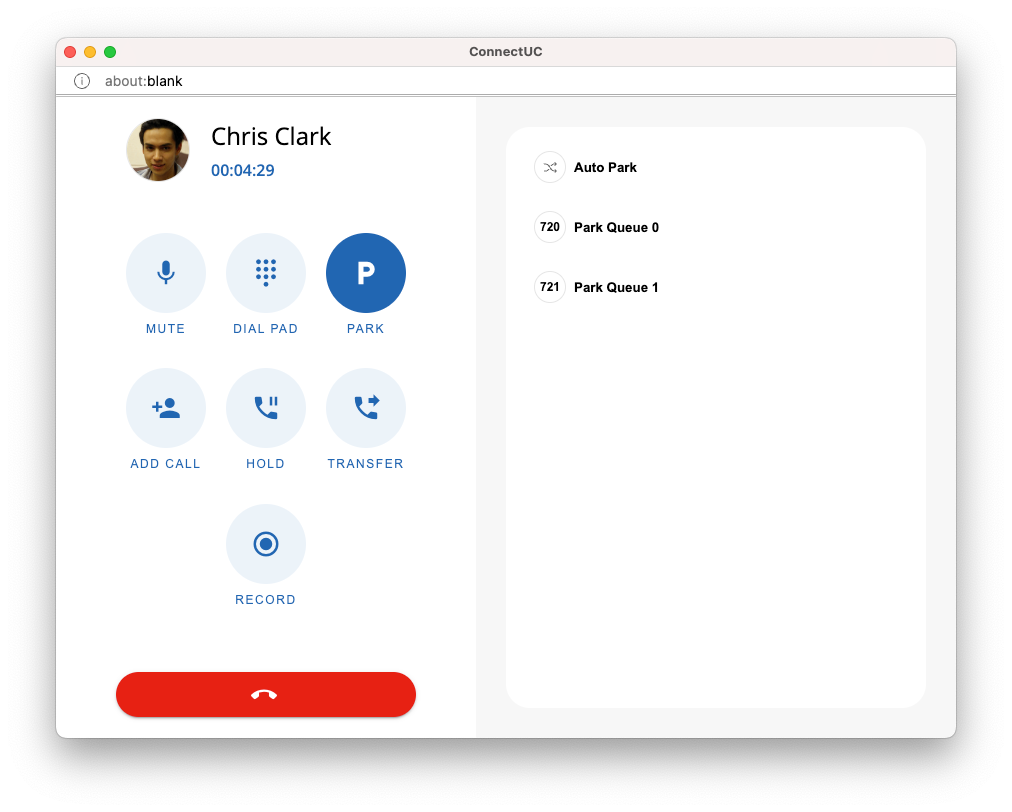
Park
Selecting the ‘PARK’ button allows the user to easily park a call. By clicking ‘Auto Park,’ the call will be parked into the first available park queue. The user can also click on a particular park queue to put the call into the directed call park.
Once a call is parked, a message will appear, letting the user know where the call was parked and how to retrieve the call from a hard phone.
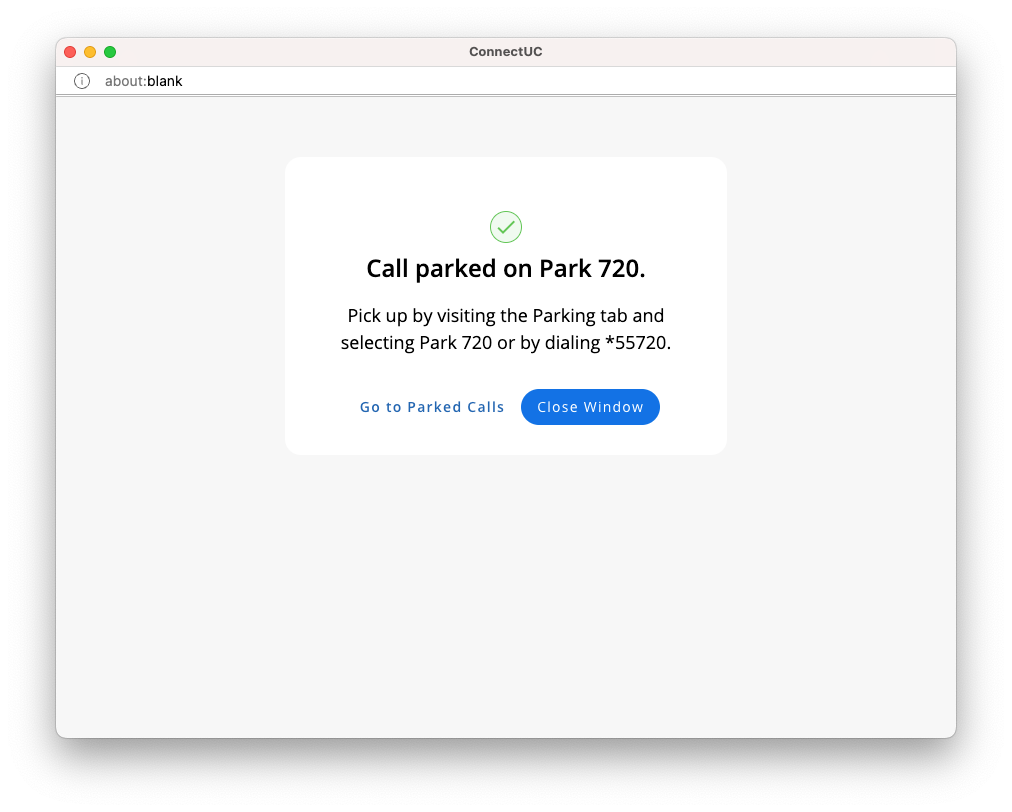
Please see our page on Parking for info on picking up the call.
Add Call
The ‘ADD CALL’ button allows the user to form a 3-party conference call. Once selected, a dialing dialog box allows the user to dial a phone number, or extension, or select a contact from their contacts list.
Once a number is dialed or contact selected, click on ‘Add To Call.' The first call will be placed on hold, and the new caller becomes the active call.
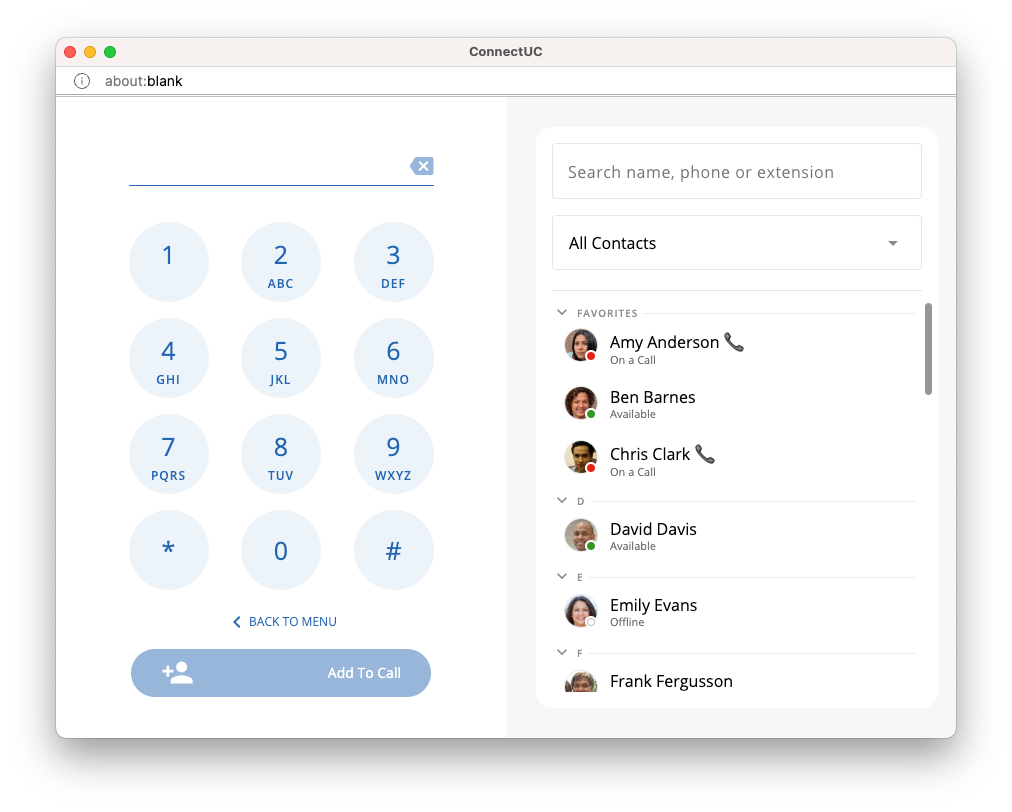
The user who initiated the 3-party conference may then select one of three options:
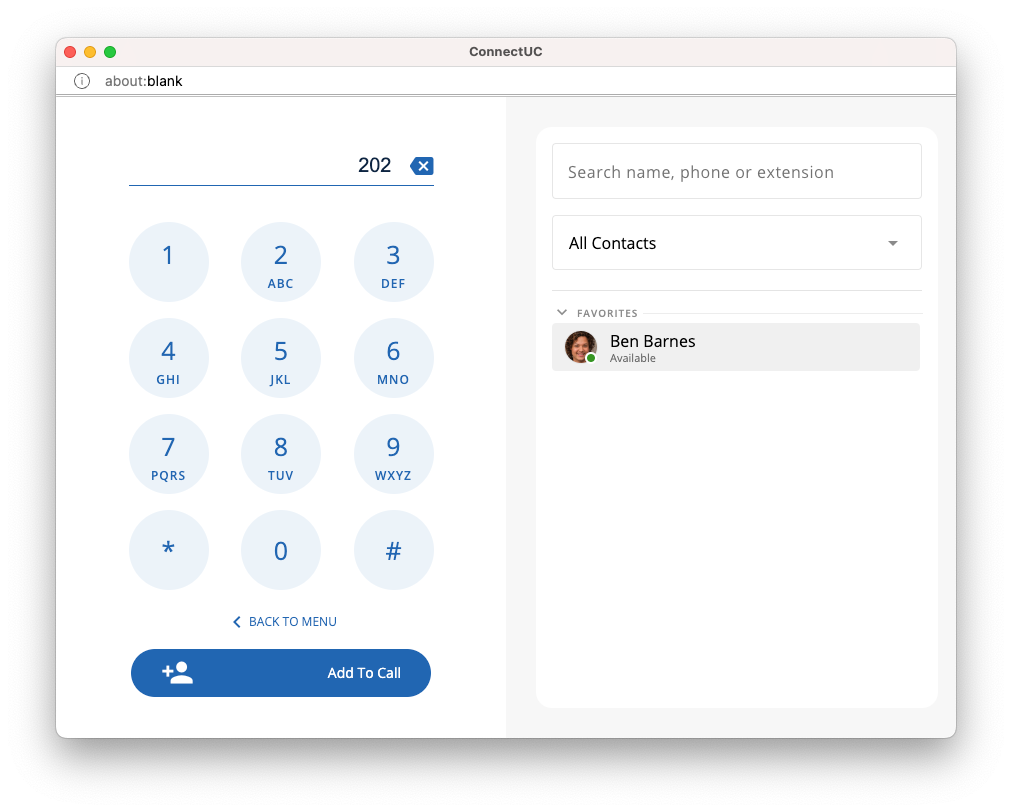
The ‘MERGE’ button conferences both parties together.
The ‘SWAP’ button places the currently active call on hold, and the previously-on-hold call becomes active.
The ‘DROP’ button drops the original call.
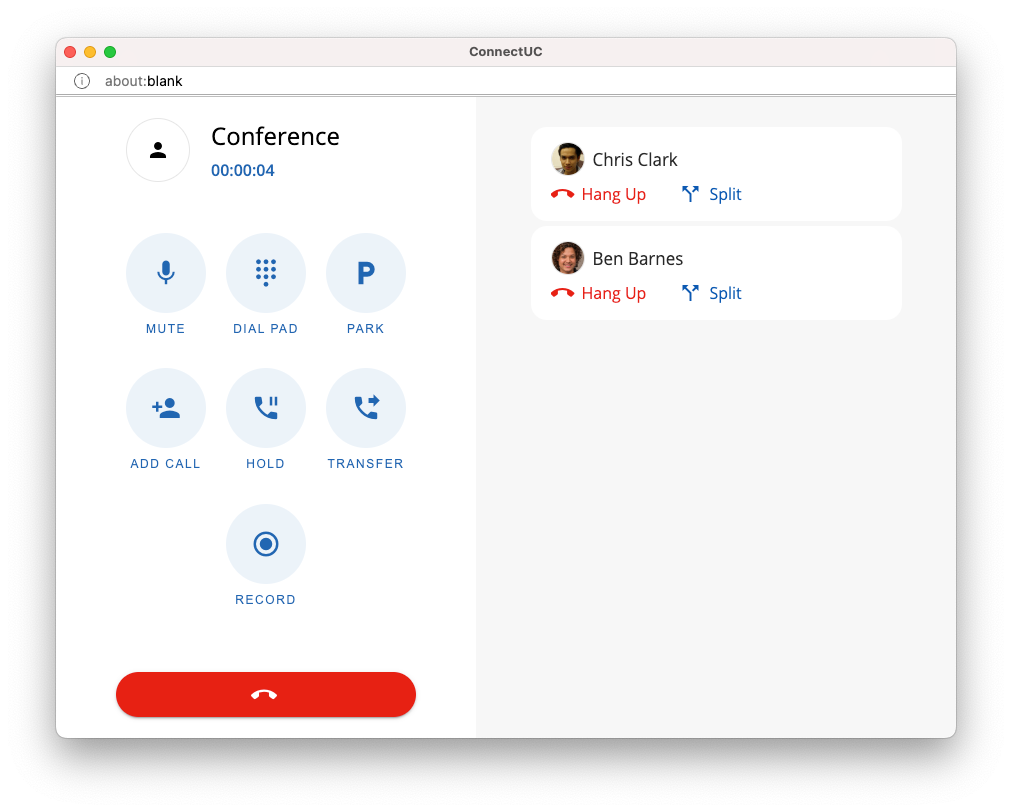
If the ‘MERGE’ button is selected, the two callers will be displayed on the right-hand side, as seen in the image below. A user may disconnect from either party by clicking the ‘Hang Up’ button under the selected user’s contact information.
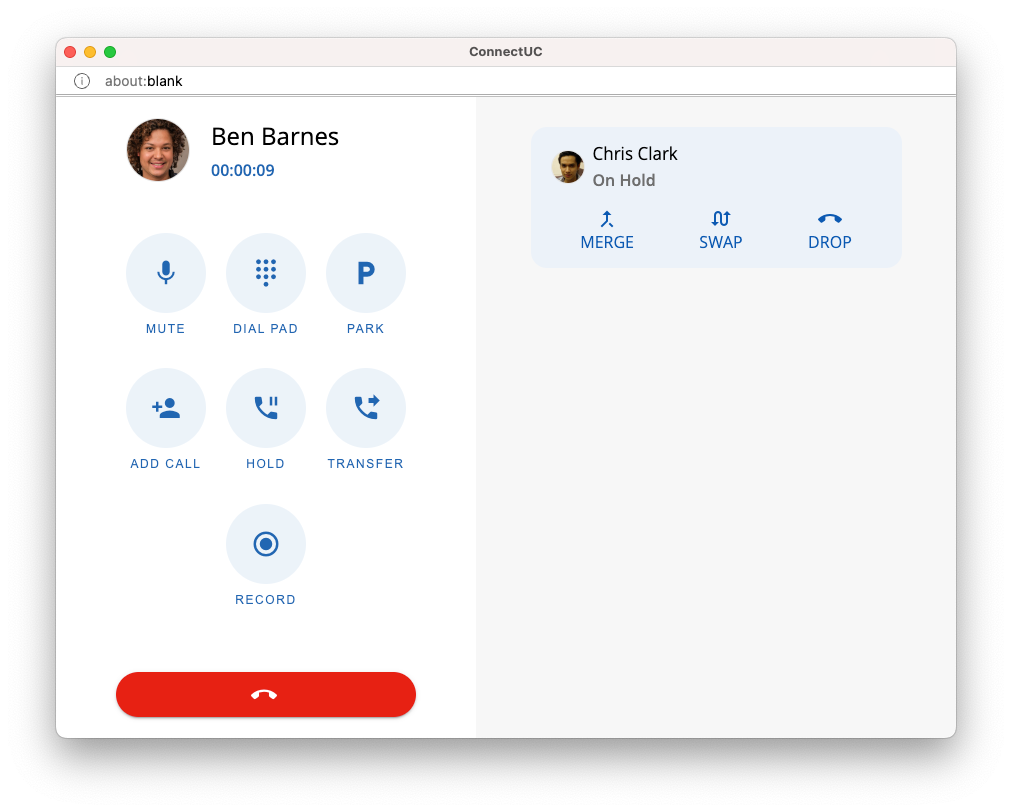
If the ‘Split’ button is selected under a user’s name, that user will become the active call, and the other call leg will be placed on hold.
Hold
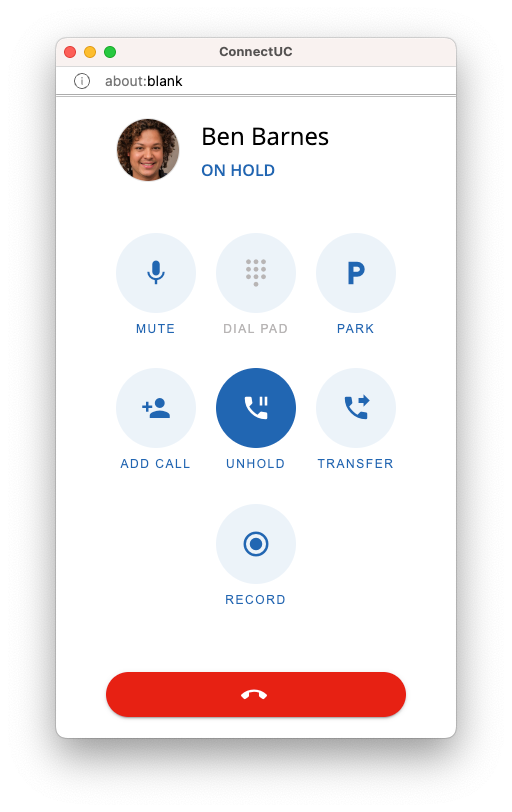
Selecting the ‘HOLD’ button places the call on hold, where the other party will hear hold music. Selecting the ‘UNHOLD’ button on a held call will take the call off hold and become an active call.
Transfer
Selecting the ‘TRANSFER’ button allows the user to initiate a transfer to an external number, extension, or Voicemail box.
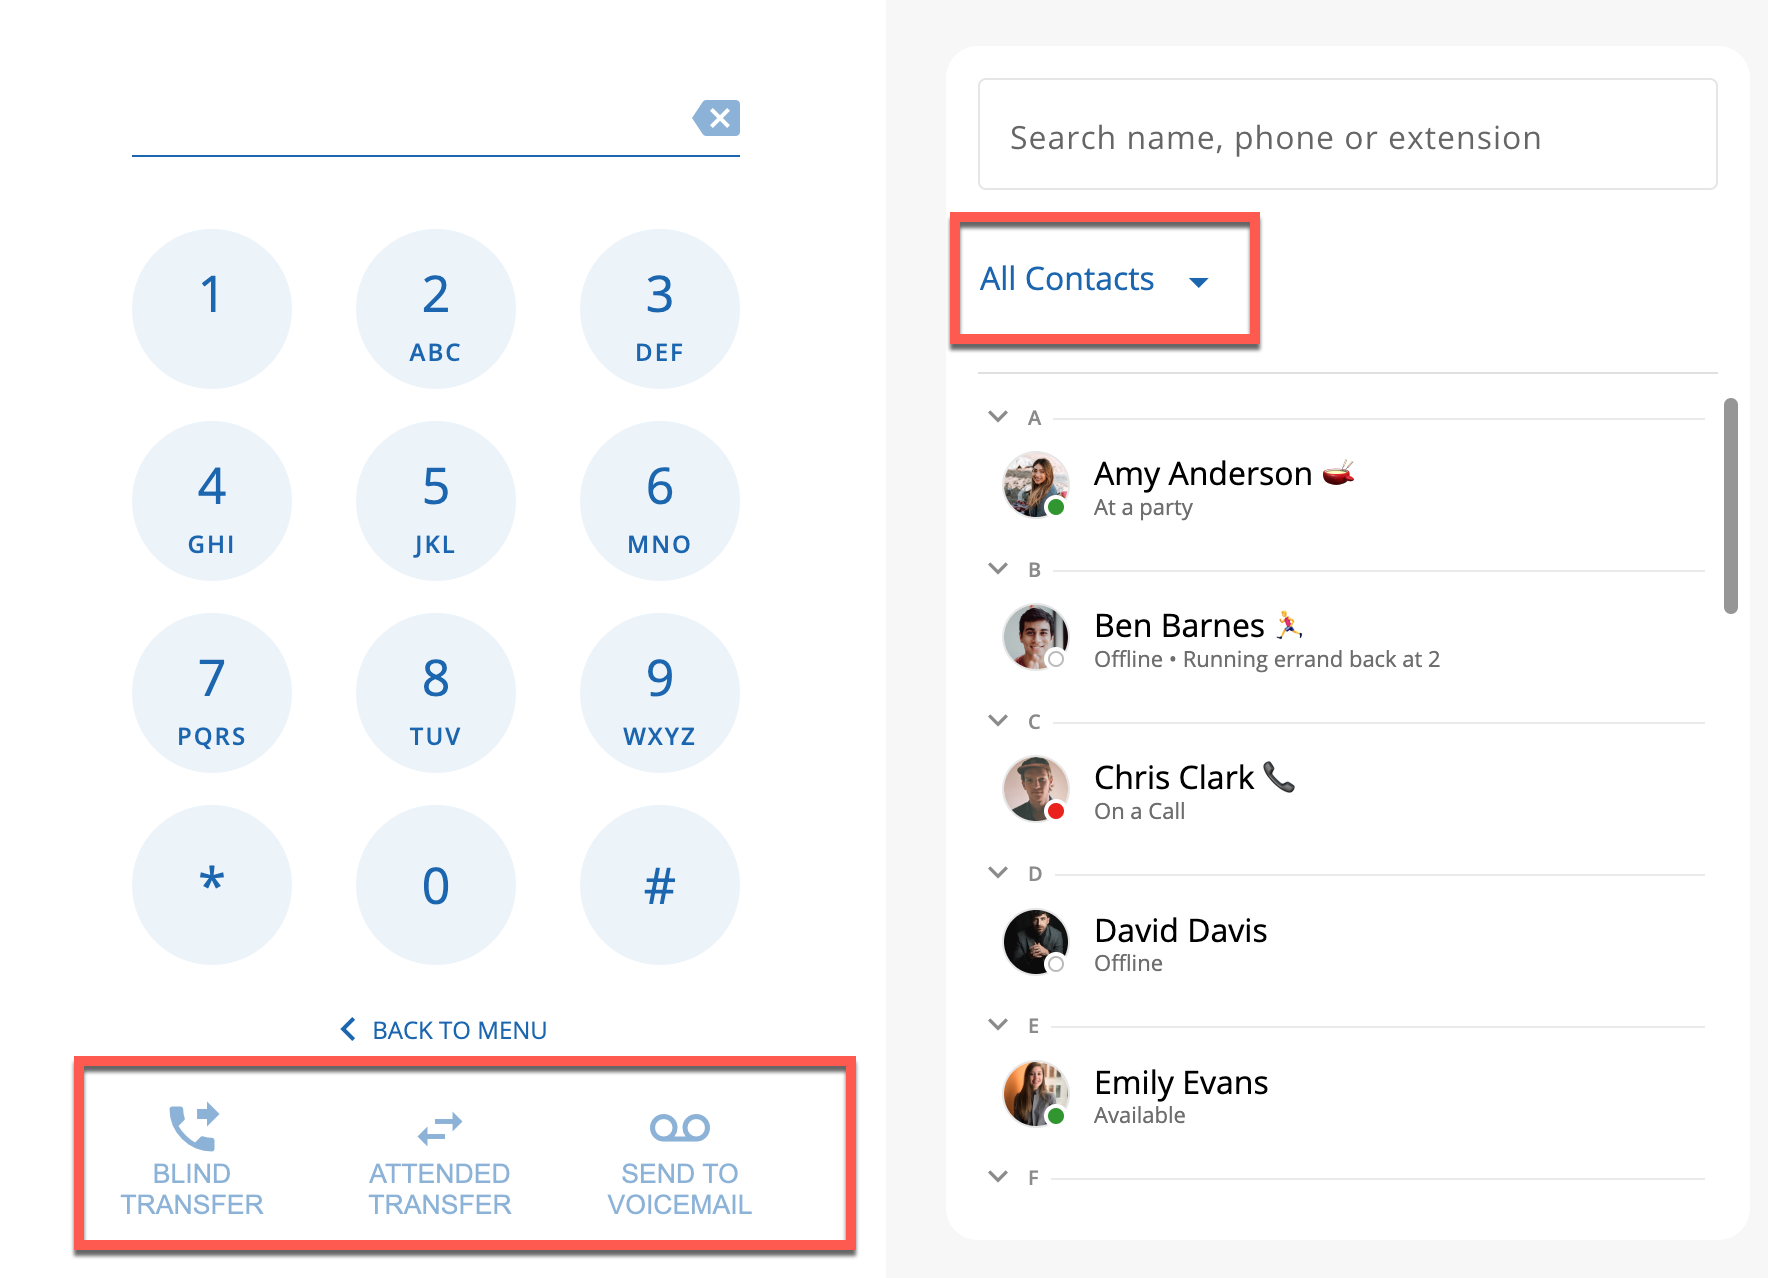
From the transfer menu, begin by selecting where you want to transfer the call by selecting a Contact on the right-side menu. Once the destination/contact is selected, click on ‘Transfer’ to initiate either a 'Blind Transfer', ‘Attended Transfer’ if you wish to talk to the other party first, or you may transfer the call directly to a contact's Voicemail box.
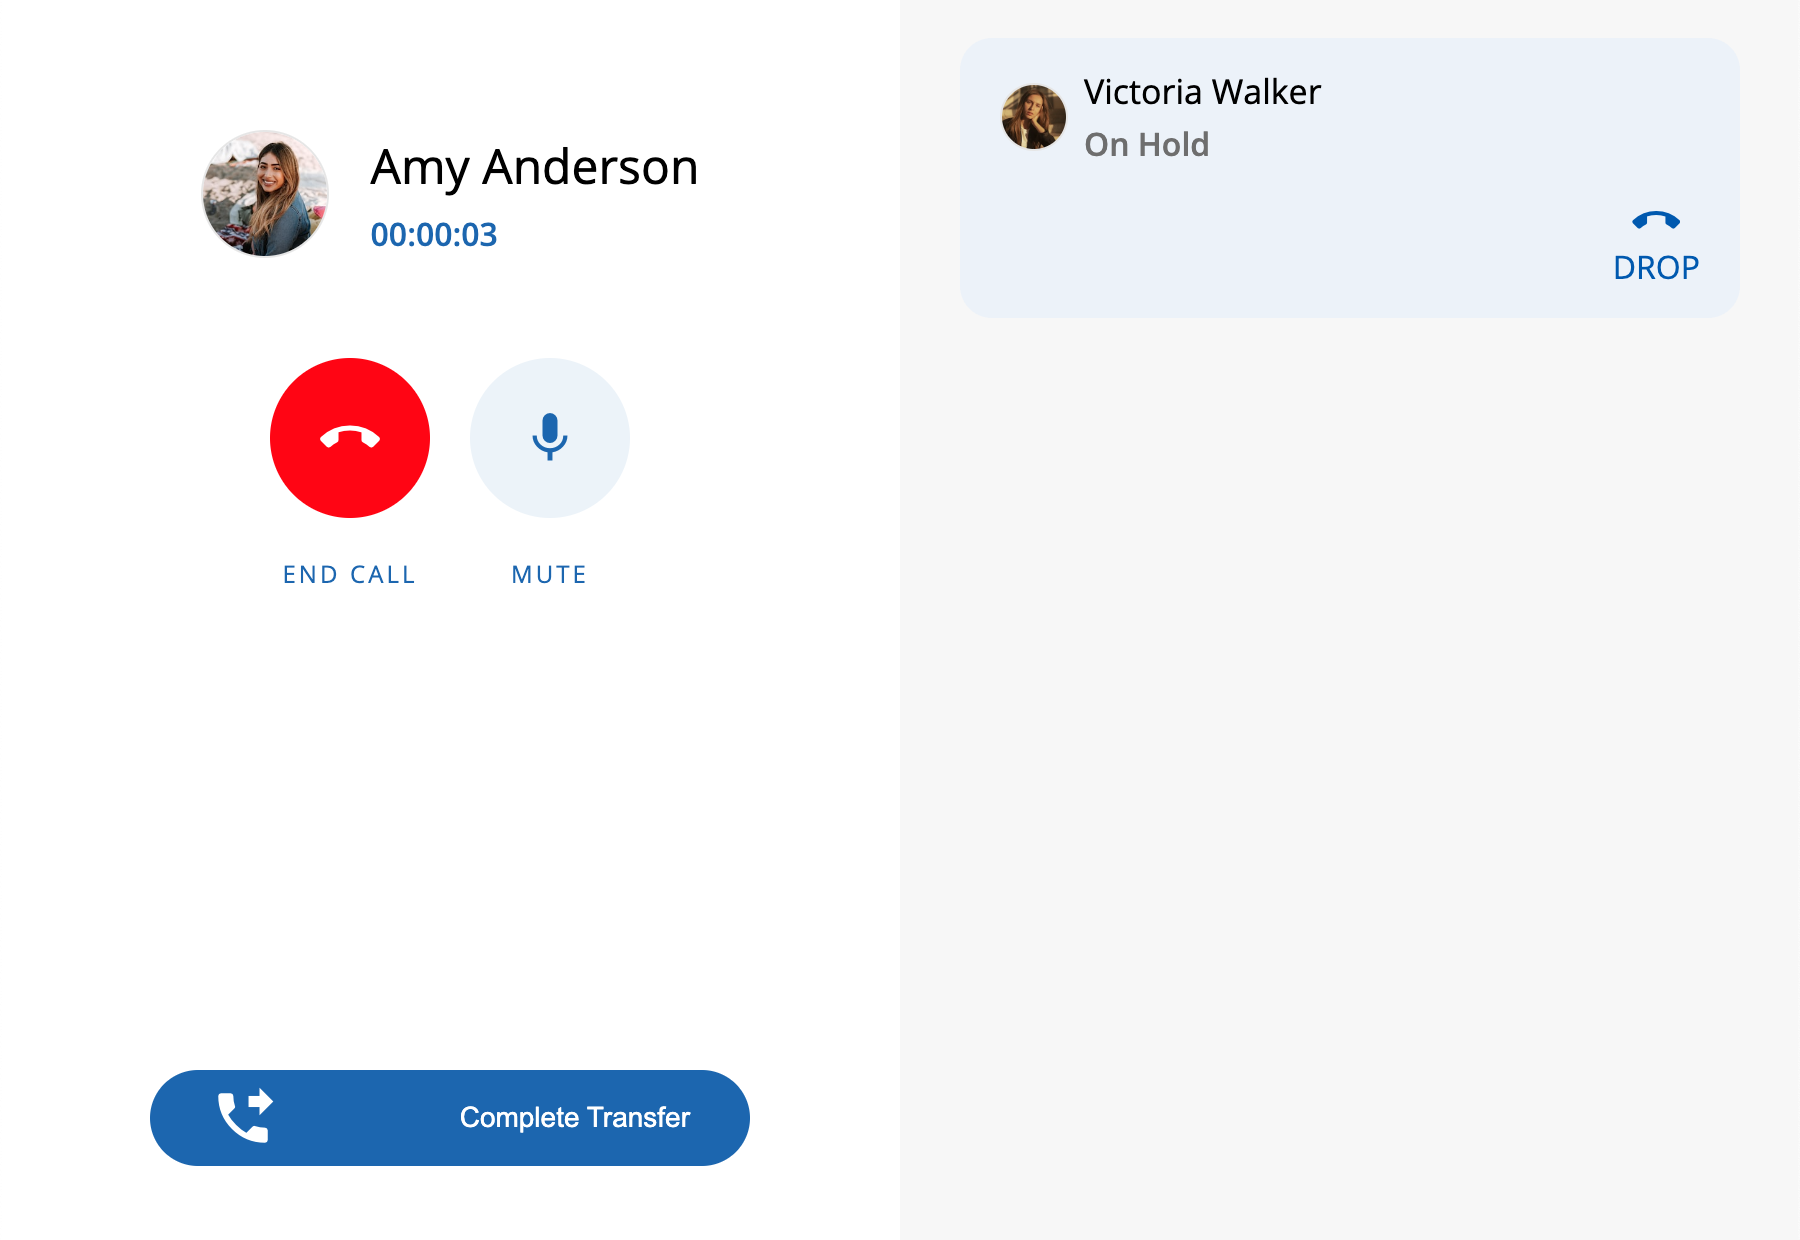
To complete an Attended Transfer, click the ‘Complete Transfer' button at the bottom of the screen.
Record
Selecting the 'RECORD’ button initiates on-demand call recording. Once selected, the user has the option to ‘STOP’ the recording or ‘PAUSE’ the recording.
Note: ConnectUC does not support local call recording storage. If the extension does not have call recording enabled, the record option will not appear.